MbUnit
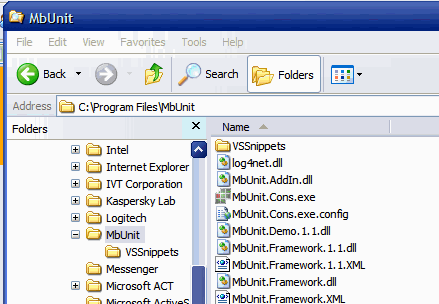
MbUnit is free software to facilitate unit testing in the .NET environment. While Unit Testing itself is beyond the scope of this article, I will show at least the very basics of MbUnit in action!The first thing to know about MbUnit is that its installer doesn't let you pick the folder to install to. And you'll likely want to know, so here it is: (C:\Program Files\MbUnit)
OK, so you've installed MbUnit - let's put it to use. Let's create a class to test. Here's a nice sample:
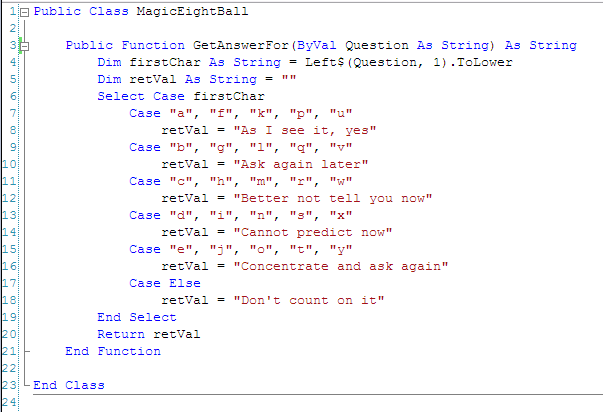
So let's test that code. We want to ensure that if we pass in a question beginning with the letter "a" for example, that the output will be "As I see it, yes" and nothing else.
Typically, what I do is add another project to my solution, to be the "testing project." This project will need to reference the project being tested, and also need a reference to MbUnit itself. It is a good idea to include a folder in your test project that actually holds the MbUnit.Framework.dll. That way your test code can be checked in/out of source control along with your live code, without other developers having to install MbUnit themselves.
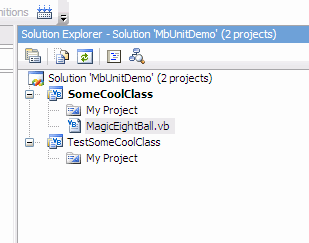
Here I've Added a Project for the Test Class:
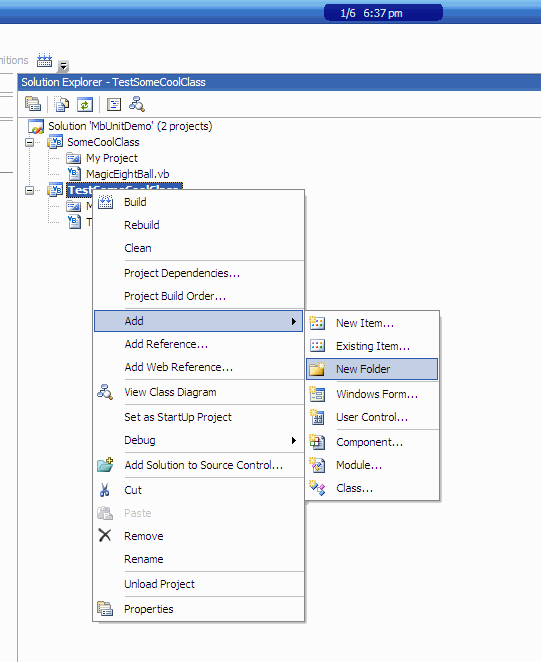
Here I'm Adding a Folder to the Test Project:
Here I've added MbUnit to the project:
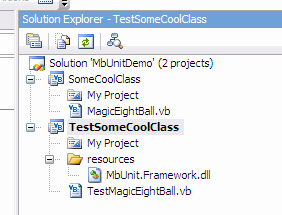
Note: In the MbUnit installed directory, there are two additional dll files that you should copy into your project:
-
QuickGraph.dll
- TestFu.dll
Next, I added references so that TestSomeCoolClass references both SomeCoolClass and MbUnit.Framework.dll.

OK, so now we work on our "TestMagicEightBall" class. Let's see a very simple sample of what this can do:
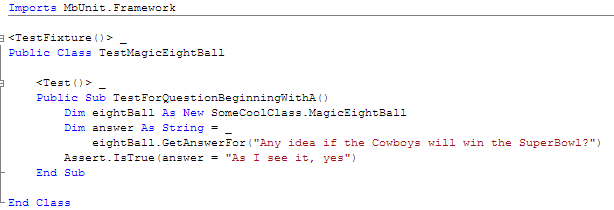
What you see here is the simple essence of Unit Testing. We have called into the class being tested, passing in certain data and expecting a certain result. We have used the "Assert.IsTrue" method to verify if the class being tested has returned what it was supposed to return.
Next, we'd need to add more test cases to test that different inputs produce correct outputs as well. Here is a sample of that:
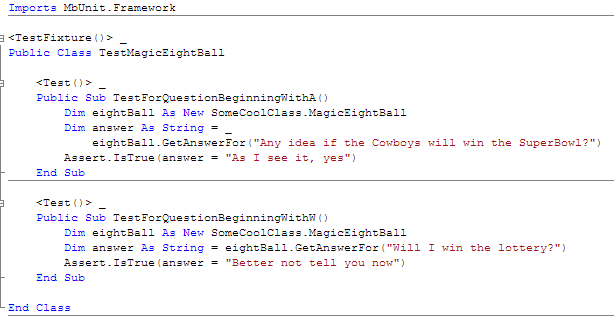
In this case, as in most real code you'll be testing, this will get tedious very fast. MbUnit provides a very elegant way to test cases like this without you having to write so many test cases. It's called the RowTest. Here's what it looks like:
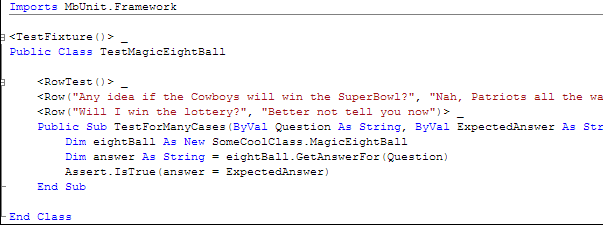
What we've done is added parameters to the test method, and changed from using the <Test()> attribute to the <RowTest()> attribute. And we've added two "rows" of tests. Notice how each <Row> attribute has two arguments? Those will map into the parameters I added to the test method itself. This uses a param array so you can have as many or as few arguments there as you need.
If you already have an existing set of tests written like this using the NUnit framework, you'll be glad to know that those tests are completely compatible with MbUnit. Just reference/import the MbUnit dll instead of the NUnit dll, and all your tests will work as they are.
But wait, we have not yet seen how to actually RUN these tests. There are a few ways to do this. MbUnit itself comes with a command line test runner and with a GUI runner. You can run the tests from within MSBuild or NAnt scripts. You can run them with TestDriven.NET (the all time BOMB) or Zanebug. Probably more too.
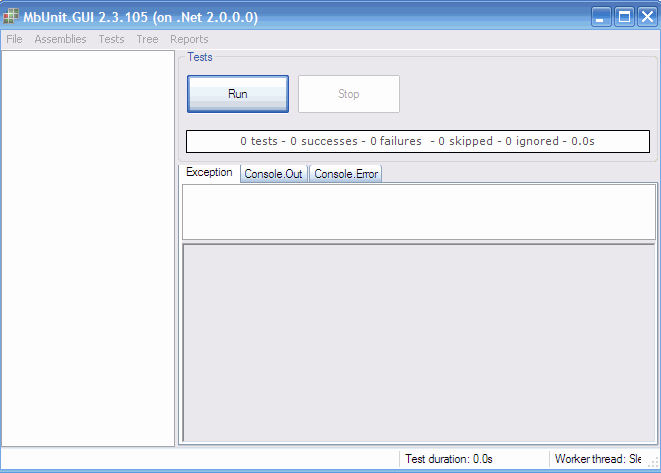
Let's just stick with the MbUnit GUI runner for now:
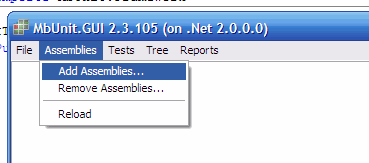
The easiest way to get started from this point is by adding your test assembly with the menu option shown here:
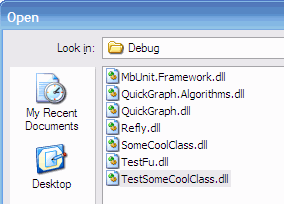
Browse to the compiled dll of your test assembly:
Once you've done that, the initial view in MbUnit is like this:
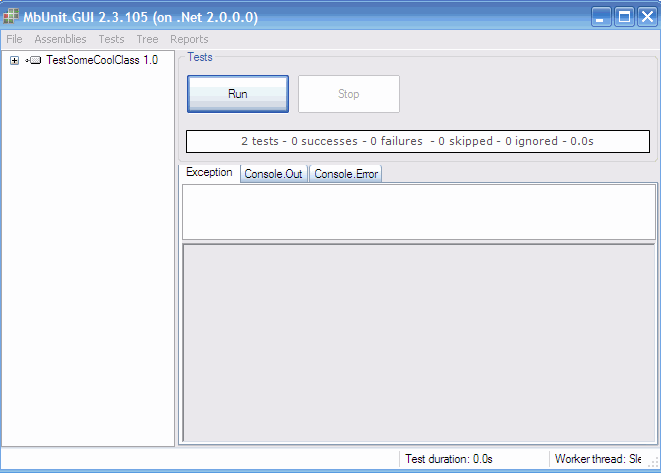
So, drill down to see your test cases like this:
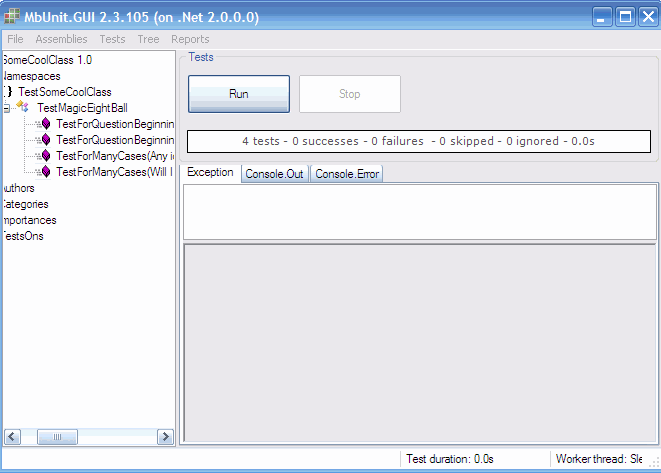
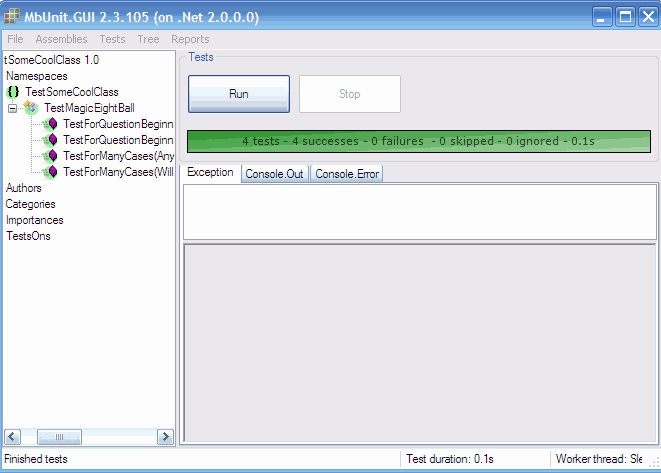
Notice how there are four tests? The RowTests show up here as individual tests. Lets run them!
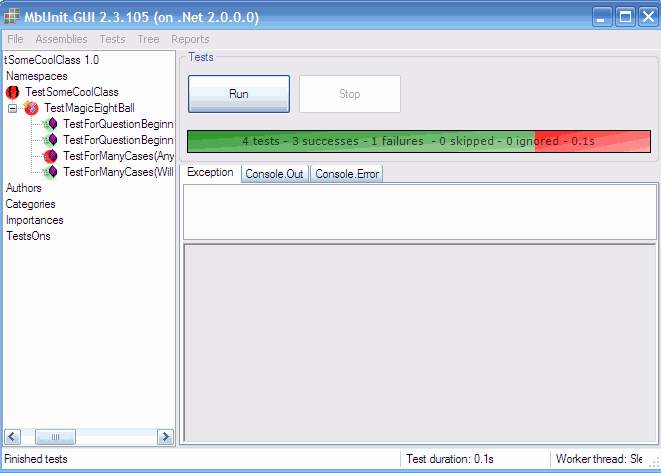
Just so you could see a failing test, I changed the test code to assume that the 8-ball would be a Patriots fan.
Enjoy!